How to Upgrade to a PlasmaMade Ductless Range Hood Filter: A Step-by-Step Installation Guide
Forget the hassle of installing bulky ducts and complicated ventilation systems. Upgrading your kitchen with a PlasmaMade ductless range hood filter changes everything—cutting down odors, allergens, and VOCs without rewiring your home. This step-by-step guide walks you through choosing the right PlasmaMade E-Filter and completing a clean, plug-and-play installation that boosts indoor air quality while saving time and money. Ready to breathe easier? Let’s get started. For more details, check out our installation manual.
Selecting the Right PlasmaMade E-Filter
Choosing the perfect filter is the first step to fresher air. With PlasmaMade, you have options that fit almost every kitchen setup. Let’s explore how to make the best choice for your home.
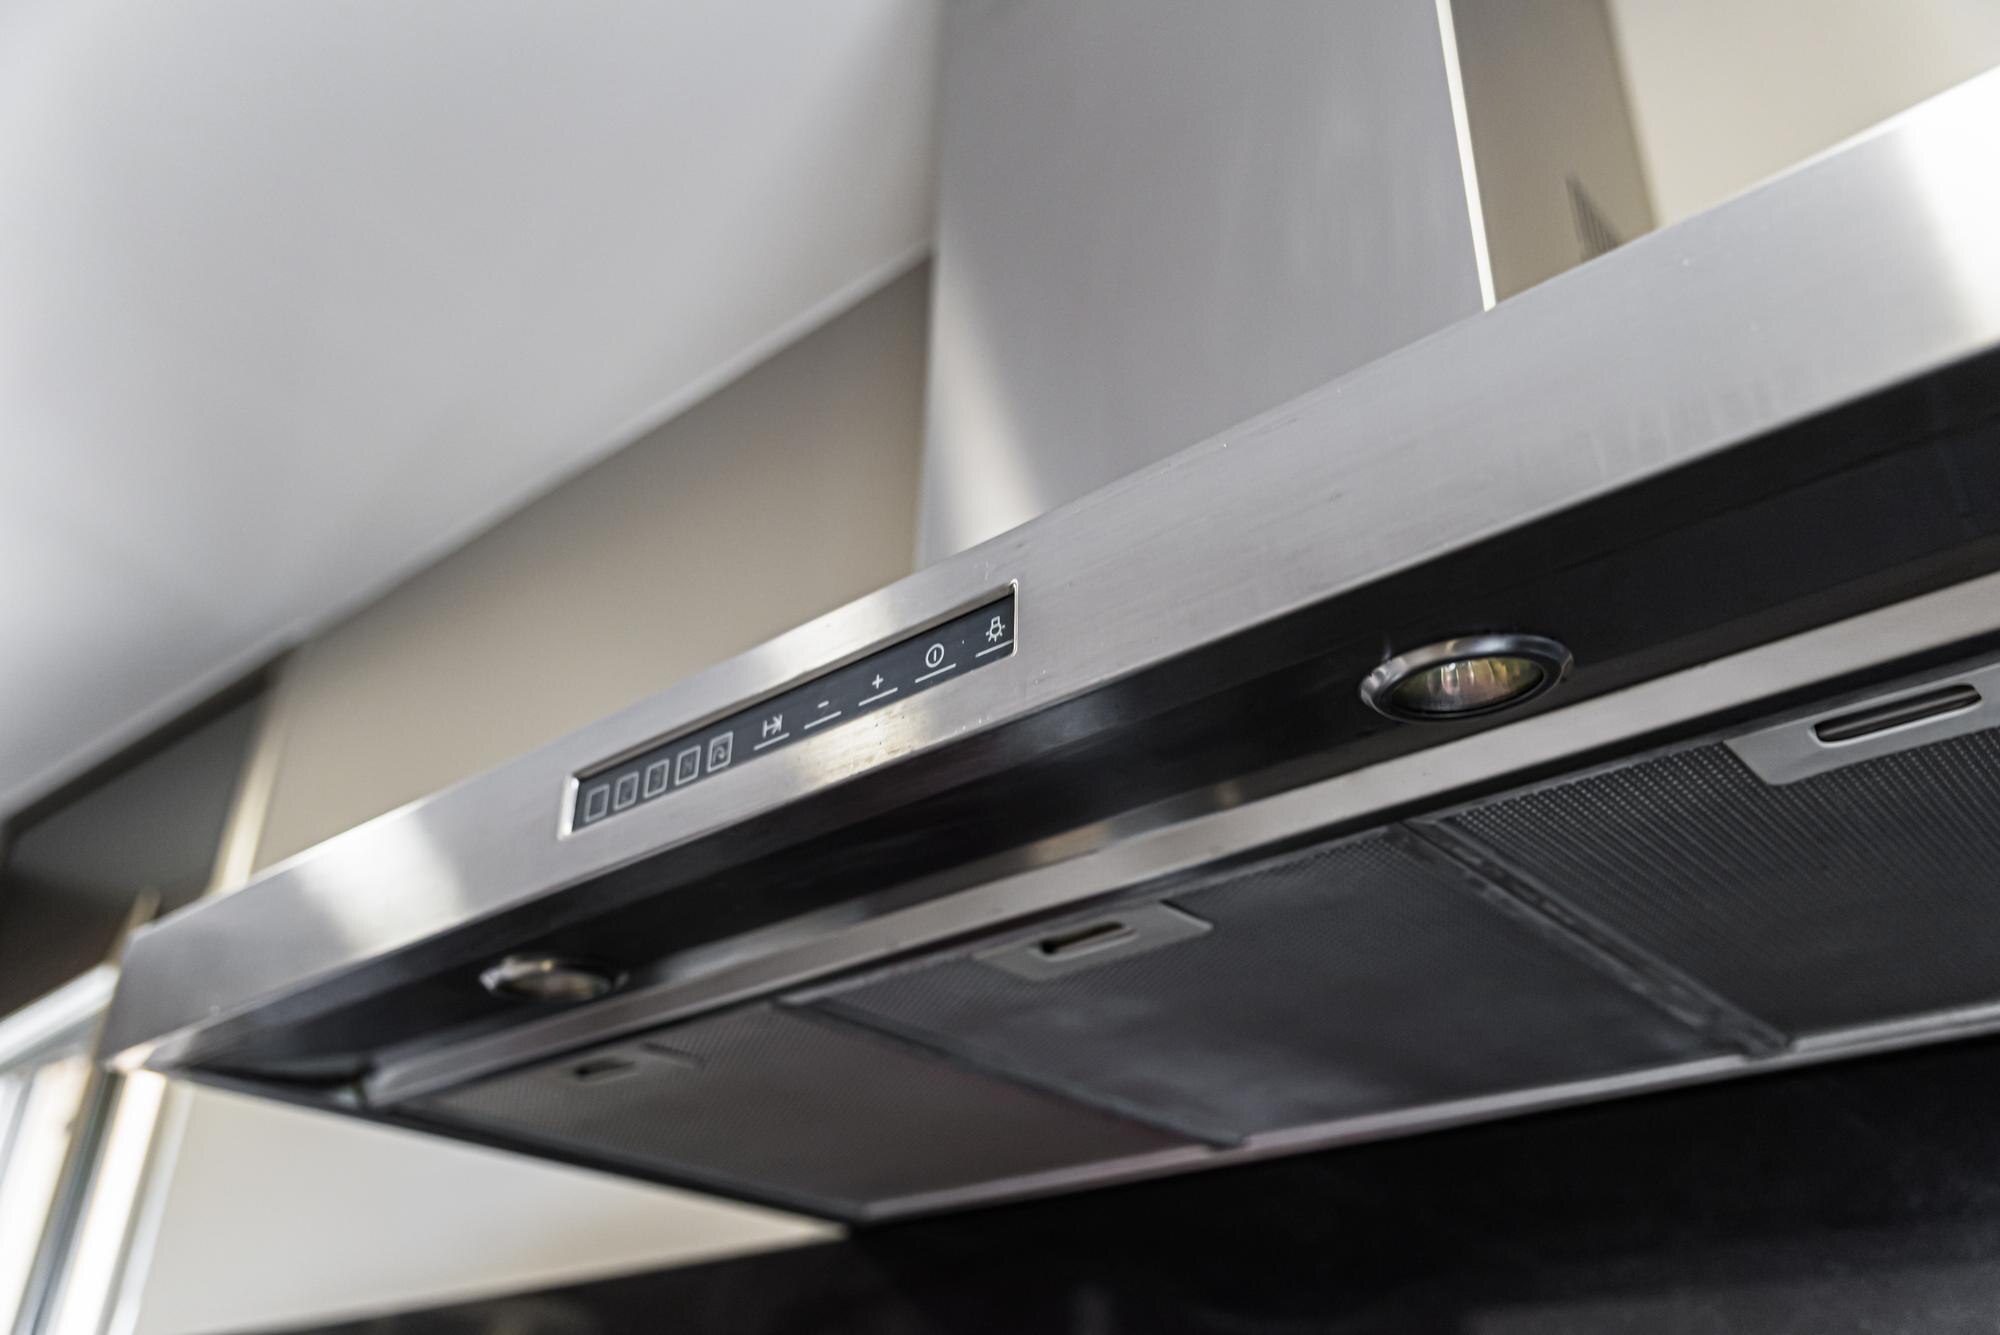
Understanding Ductless Range Hood Filters
Ductless range hood filters work by recirculating air, making them ideal for apartments and homes where external venting isn’t feasible. These filters use advanced technology to trap and neutralize cooking odors, smoke, and other contaminants. With the PlasmaMade E-Filter, you get the added benefit of plasma and electrostatic discharge technology, which ensures thorough air purification. This means not only are your kitchen smells reduced, but allergens and pathogens are also significantly minimized. The result? Cleaner air and a healthier home environment.
Key Features:
-
Plasma and Electrostatic Discharge: Breaks down odors and captures fine particles.
-
Maintenance-Free: Lasts up to 15 years without the need for replacement.
-
Energy-Efficient: Reduces energy consumption compared to traditional systems.
Learn more about how these filters operate effectively on our FAQ page.
Compatibility with Exhaust Sizes
Now, let’s ensure your range hood filter fits perfectly. PlasmaMade offers two main models: the GUC1225 and the GUC1325. The GUC1225 is designed for range hoods with a 6-inch round exhaust, while the GUC1325 fits a 3-1/4 x 10-inch rectangular exhaust. This versatility makes it a breeze to retrofit your existing range hood. And if you have a unique exhaust size, custom adapters are available to ensure a snug fit.
Why Choose PlasmaMade?
-
Universal Fit: Compatible with most range hood models.
-
Custom Solutions: Adapters for non-standard sizes.
-
Plug and Play Installation: Simplifies the upgrade process.
Interested in seeing how easy it is to fit these filters? Check out this Instagram reel for a quick visual guide.
Planning Your Ductless Upgrade
Ready to make the switch? Planning is key to a successful upgrade. This section will guide you through assessing your needs and consulting with experts to ensure a smooth transition.
Evaluating Kitchen Ventilation Needs
Before diving into installation, it’s essential to evaluate your current kitchen ventilation setup. Consider the size of your kitchen and the type of cooking you do. Are odors and smoke an issue? Do you need to reduce allergens and improve indoor air quality? By answering these questions, you can determine how a PlasmaMade E-Filter can best serve your needs. Remember, the goal is to enhance your kitchen’s comfort and efficiency.
Steps to Evaluate:
-
Assess Kitchen Size: Larger kitchens may require more powerful filtration.
-
Identify Problem Areas: Note where odors or smoke tend to linger.
-
Consider Health Needs: If allergies are a concern, prioritize filters with superior allergen removal.
Consulting a PlasmaMade Specialist
Once you’ve assessed your needs, consulting with a PlasmaMade specialist can provide valuable insights. Experts can help you select the right filter model and discuss any specific installation requirements. They can also offer tips on maximizing your filter’s performance. Most people think installing a range hood filter is complex, but with expert advice, it becomes straightforward and hassle-free.
Benefits of Consultation:
-
Tailored Advice: Receive recommendations based on your kitchen layout.
-
Expert Tips: Learn how to optimize filter usage.
-
Peace of Mind: Ensure a seamless installation process.
For more personalized guidance, explore our expert consultation options.
Step-by-Step Installation Guide
With your filter selected and planning complete, it’s time for the exciting part: installation. Follow this detailed guide to ensure a safe and clean setup.
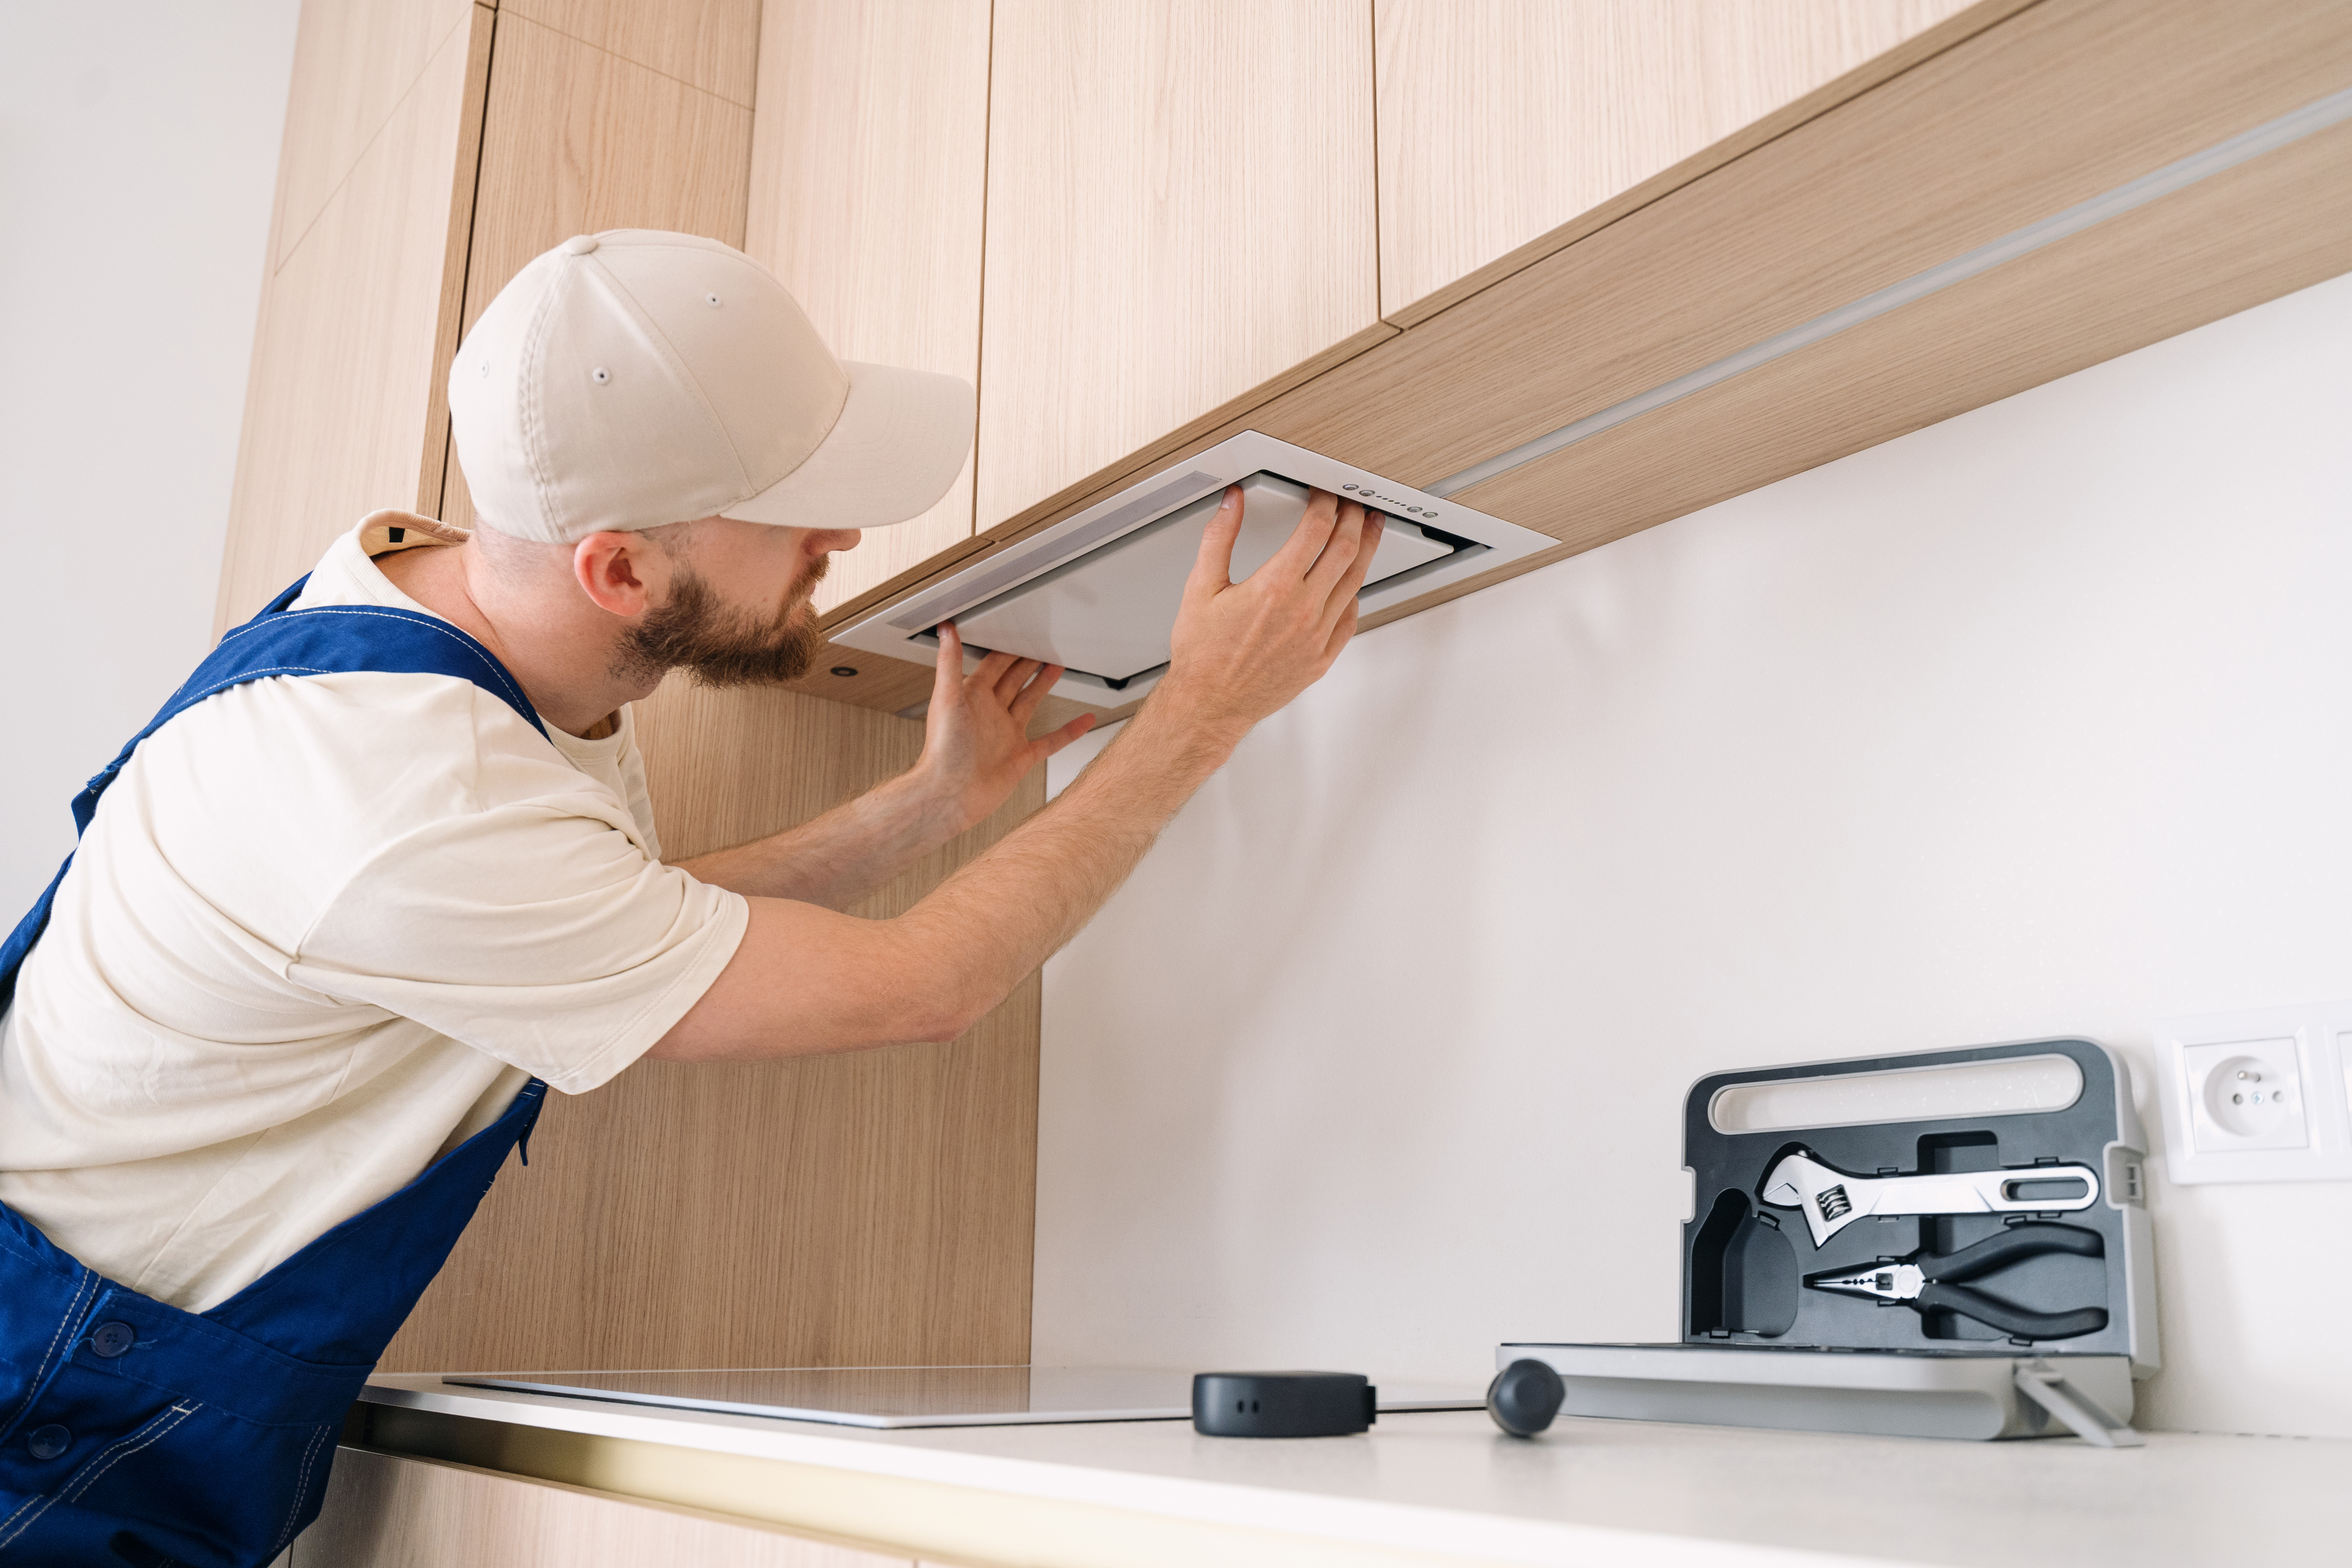
Preparing for Range Hood Installation
Preparation is key to a smooth installation. Start by gathering all necessary tools and materials. Ensure your kitchen area is clean and accessible. This will make the process quicker and more efficient.
Preparation Checklist:
-
Tools Required: Screwdriver, measuring tape, and adapter (if needed).
-
Clear Workspace: Remove any obstacles around the range hood.
-
Check Filter Fit: Verify that the filter matches your exhaust size.
Safe and Clean Installation Process
Installing your PlasmaMade E-Filter is a straightforward process. Follow these steps for a successful installation:
-
Disconnect Power: Safety first! Ensure the range hood is unplugged before starting.
-
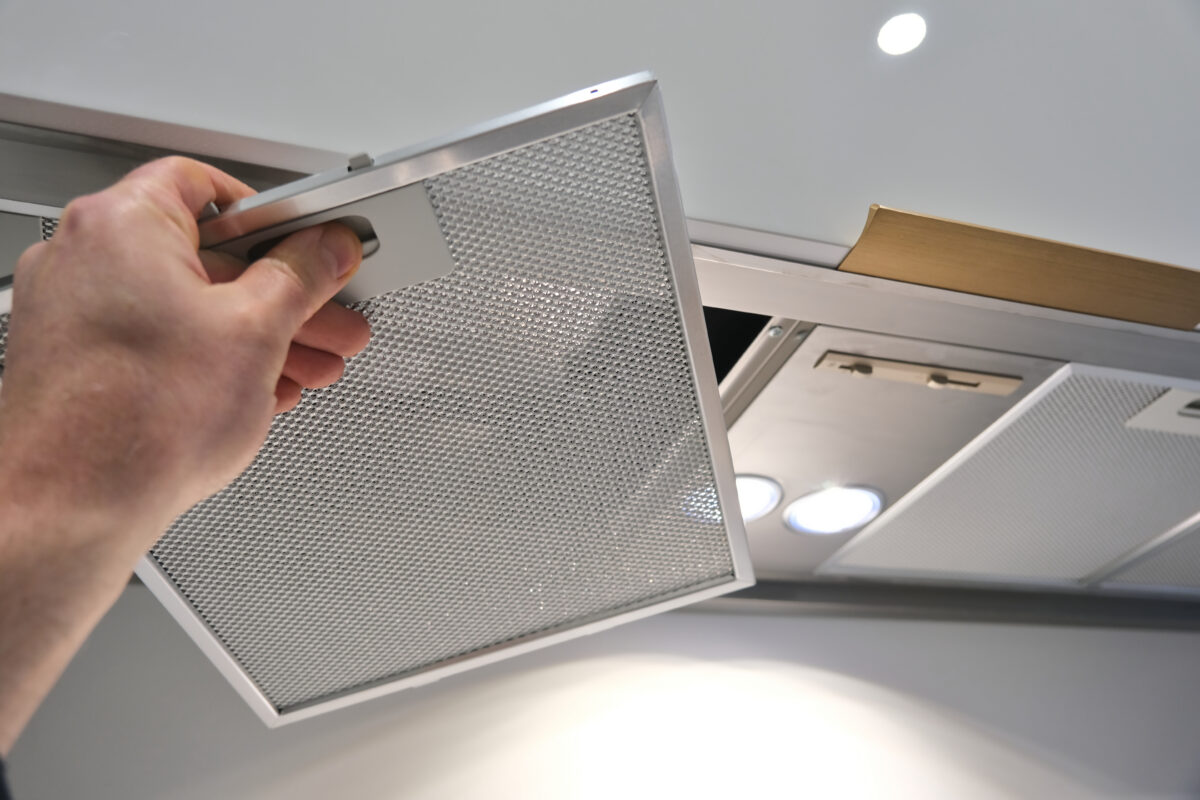
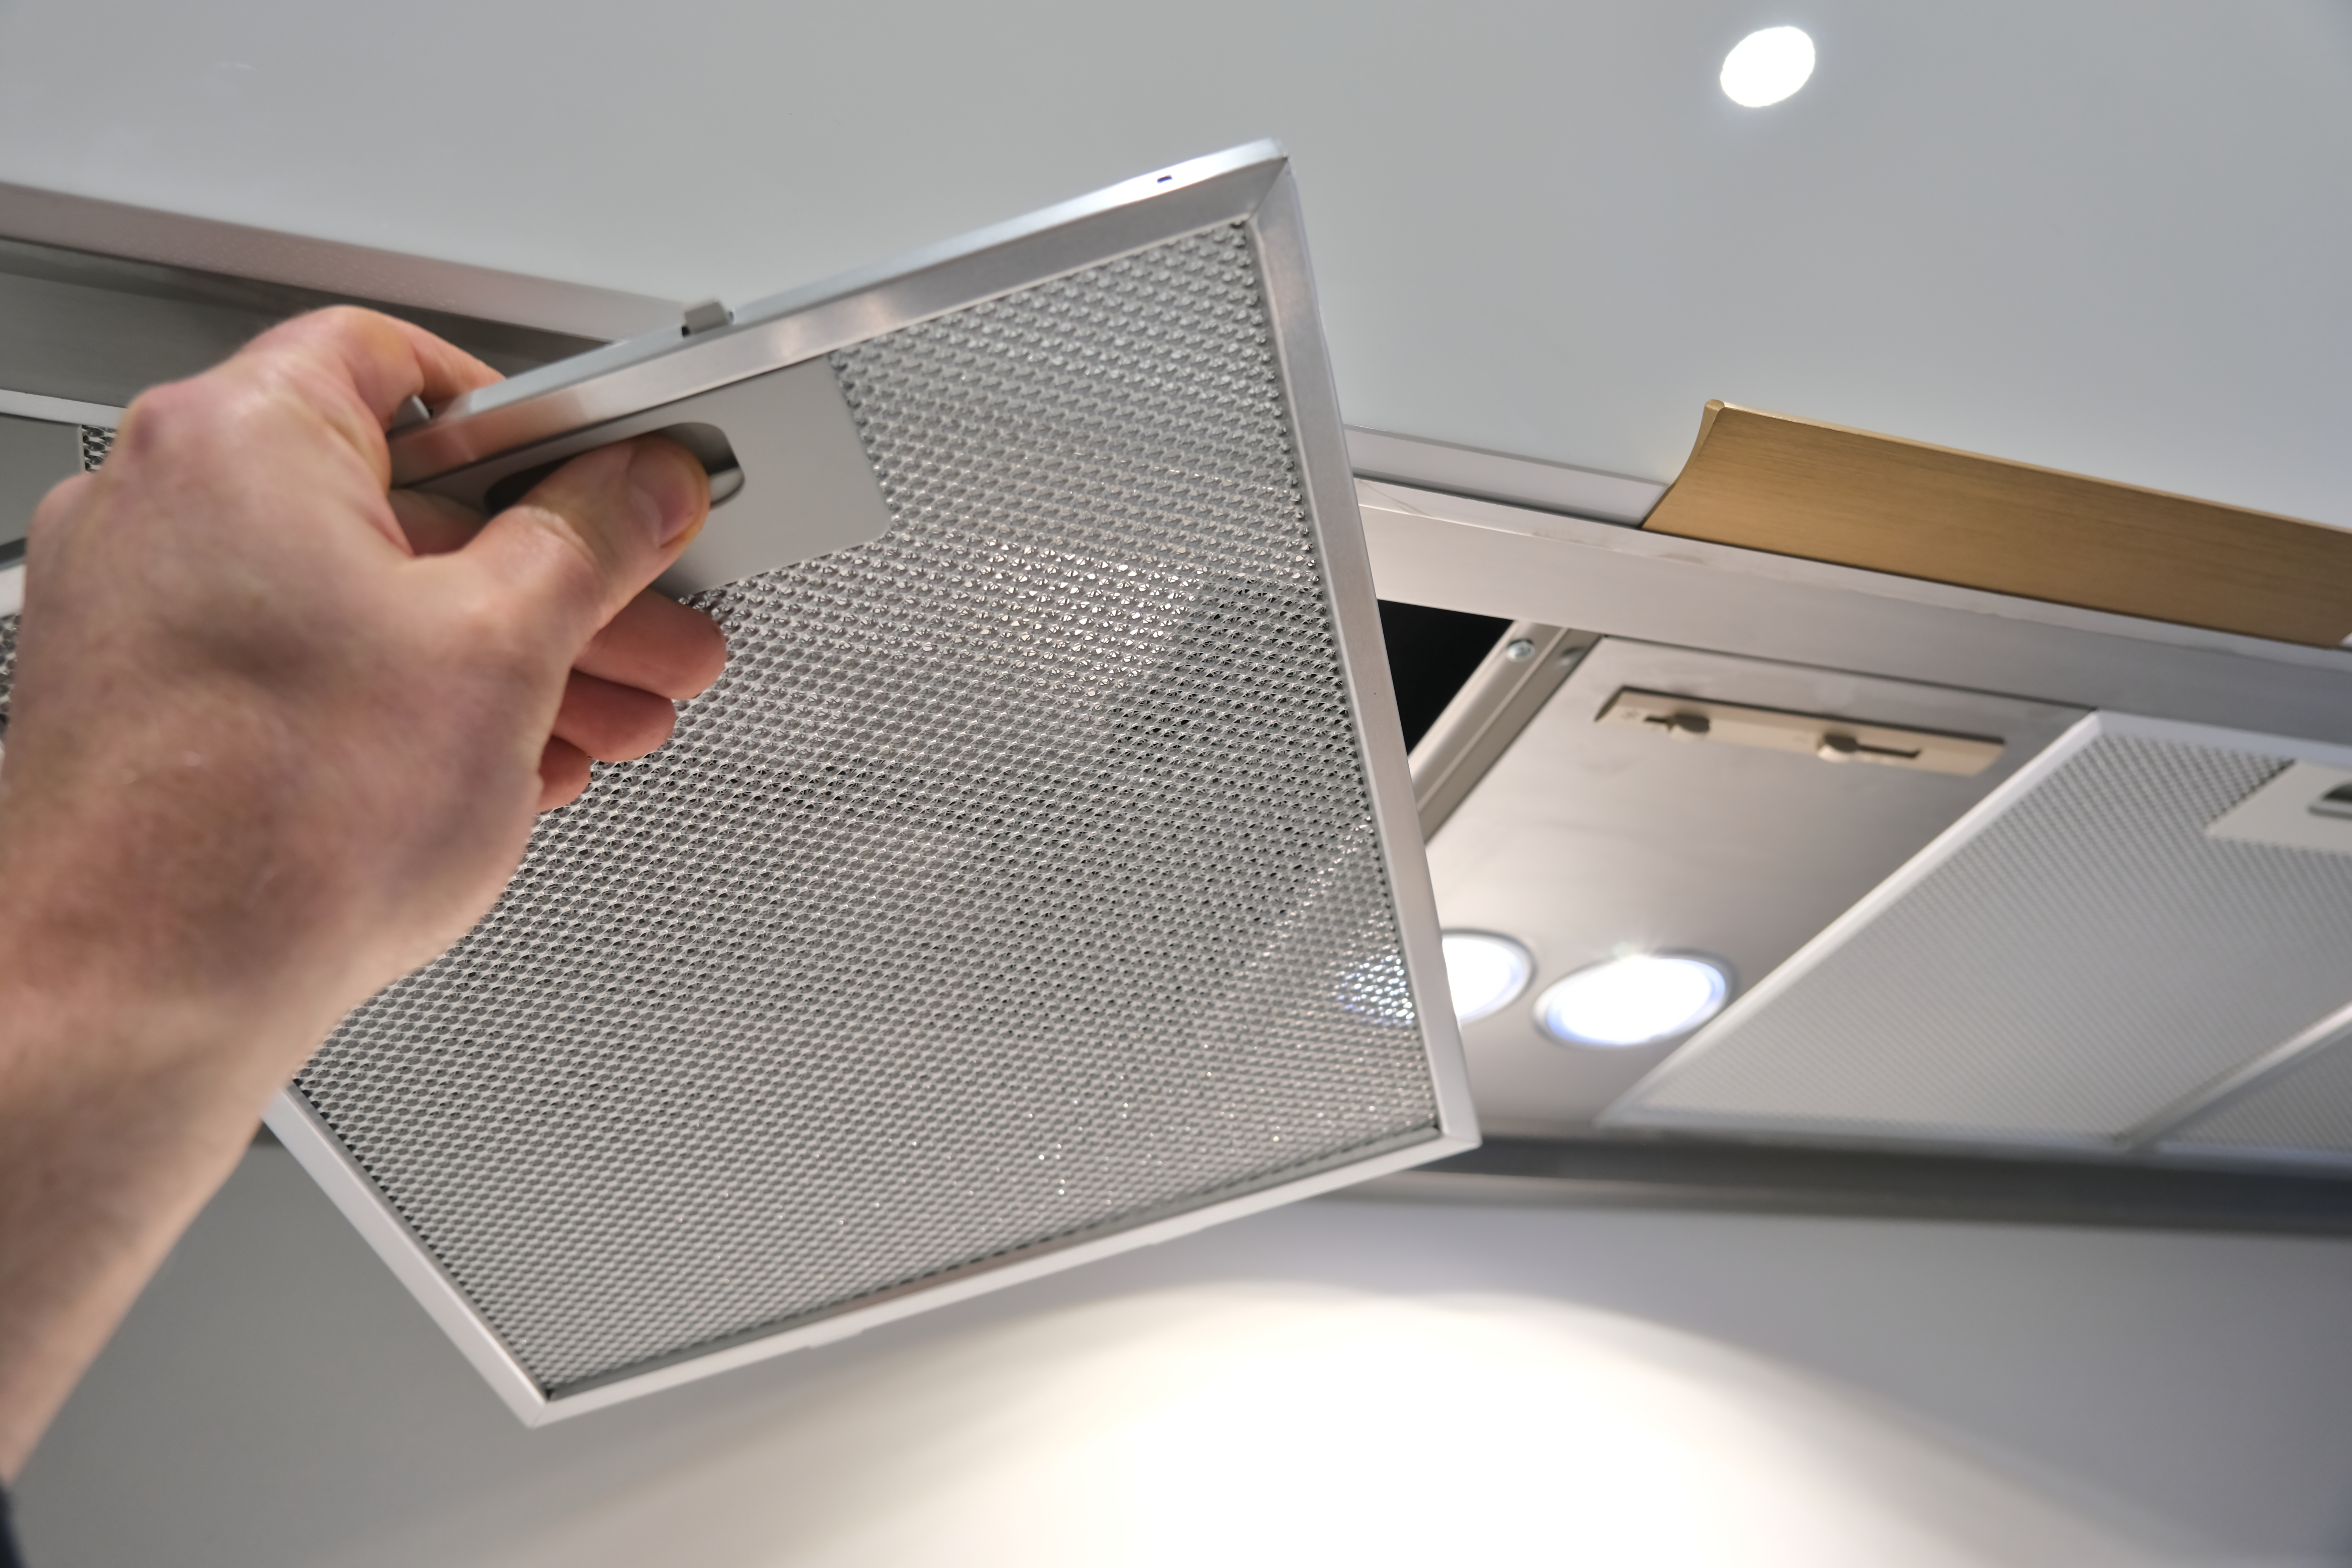
Remove Existing Filter: Carefully take out the old filter if applicable.
-
Insert PlasmaMade E-Filter: Align the filter with the exhaust and secure it in place.
-
Reconnect Power: Plug in the range hood and ensure everything is functioning correctly.
Tips for Success:
-
Follow Instructions: Refer to the installation manual for detailed guidance.
-
Test Performance: Once installed, run the range hood to check for proper airflow and filtration.
For a visual walkthrough, watch this installation video.
By following this guide, you can enjoy a cleaner, healthier kitchen environment with minimal effort. Upgrade to a PlasmaMade E-Filter today and experience the difference in air quality and convenience.